One of the limitations of the Weber Jumbo Joe is the limited clearance under the dome. You can’t cook a beer can chicken on the grill grate and you certainly can’t fit a ham or turkey under there. Here is one way to tackle the problem.

In this post I will show you how I fixed the problem for $26. If I had seen a post like this one the actual work could have been completed in less than 10 minutes. In reality one of the steps took me a couple of hours to figure out because I was an idiot. Don’t worry; I took pictures so you won’t have any problems.
First I want to give a big shout out to Larry Watkins. This modification is his idea and he was kind enough to send me descriptions and pictures of how to do it.
I will be honest, when I first saw what Larry had done I thought there was no way I would ever try this modification. This involves working with metal and my mechanical aptitude is ZERO. I mean it, I suck at using tools. There was no way I could ever pull this off.
It turns out that when it rains for a week I get jumpy from not getting to play with my grills. I got jumpy enough to head down to Home Depot and picked up what I needed to give this a try.
Here is what you need:
- A 10 foot roll of 10 inch aluminum roof flashing.
- A box of 3/16 inch rivets.
- A rivet gun.
- A drill with a 3/16 inch drill bit.
- Tape
The aluminum flashing cost $11, the rivets were $5 and the rivet gun was $10. I borrowed the cordless drill and 3/16 inch drill bit from my wife.
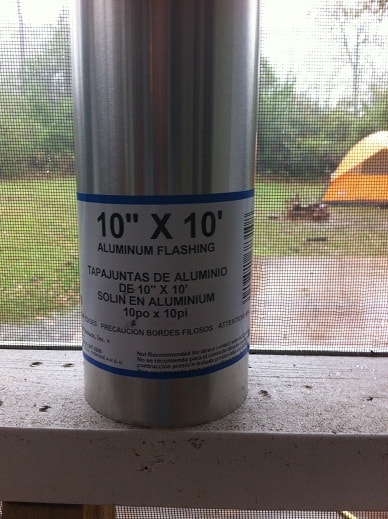
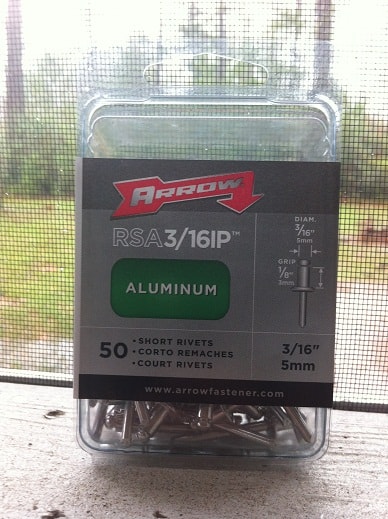
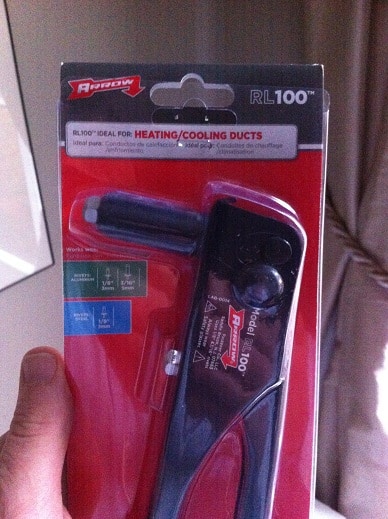
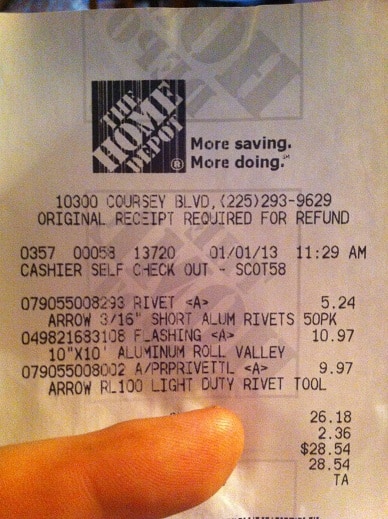

Start by taking the tape off of the roll of aluminum flashing and letting the material naturally unroll. I say “let” like you have a choice; you don’t really. Once the tape is off it just happens.
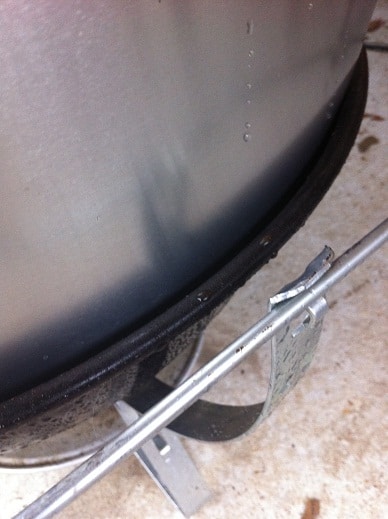
Take the lid off the Weber Jumbo Joe and guide the flashing into a circular pattern that fits just outside the charcoal grate and just inside the kettle. There are no tools or brute force involved. You are gently guiding a flexible metal into a natural round shape. The ten feet of flashing will wrap around the Jumbo Joe about two and a half times. At this point you will have something that looks like this. Note the position of the flashing relative to the kettle and charcoal grate.
.
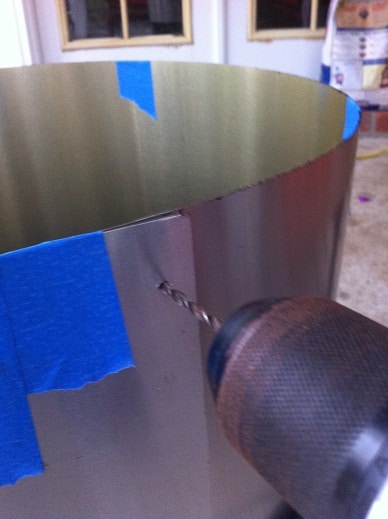
I used some tape to compress the layers of aluminum together so things would stay in place while I drilled holes for the rivets. I decided I needed four rivets to hold everything together. I placed the rivets on both of the ends of the roll of flashing; one at the top and one at the bottom.
Drill a hole in the metal that is the same size as the rivet. These were 3/16 inch rivets so I used a 3/16 inch drill bit. You do not need a special drill bit for aluminum; it is an extremely soft metal that is easy to drill.
Insert the thick end of the rivet through the hole until the flat section of the rivet seats against the metal. (This is the step that took me over an hour to figure out.)
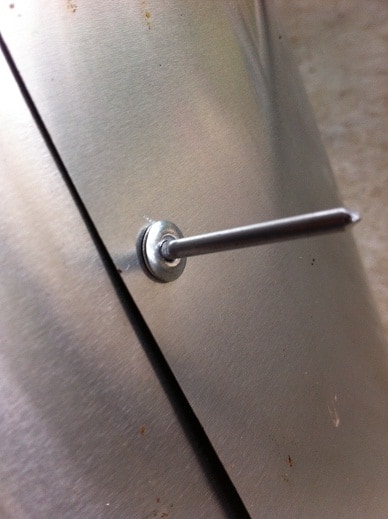
Grab the thin end of the rivet at the base with the rivet gun.Squeeze the handle on the rivet gun. Depending upon the gun you use you may have to squeeze, re-grab and squeeze again multiple times. I had to do it four times per rivet. You are done when the end snaps off and leaves behind something that looks like this.
Stick the kettle lid on your extension and you are ready to go!

Some things you need to know….
- This is super easy.
- The extension looks cool as heck.
- The extension does NOT have a high degree of structural strength. It is constructed of a few layers of thin aluminum and is very flexible.
A few words about the flashing….
If you buy a roll of flashing that is longer than 10 feet you will have to do some metal cutting. Don’t do it! Make life easy on yourself and get the 10 foot roll; it’s the perfect size.
The most common flashing material is galvanized. At very high temperatures the zinc from the galvanization can vaporize and contaminate your food. At high enough dosage zinc is toxic. Some people make this extension with galvanized flashing because they ONLY use it for very low temperature cooks.
I suggest using aluminum flashing instead of galvanized so you don’t have to even consider temperature issues. The first time I used my extension was in a high heat application and galvanized would NOT have been viable.
You should be able to find everything you need for this project at Home Depot. Just in case you can’t here are some links for the products at Amazon.
If you would rather just spend some cash and get a great commercial smoker extension then check out the Weber Jumbo Joe Upgrades post.


